|
Ultrasonic Film Splicing Instructions |
|
The following instructions are for splicing film, emulsion down. When splicing emulsion up, replace emulsion with base or cell. |
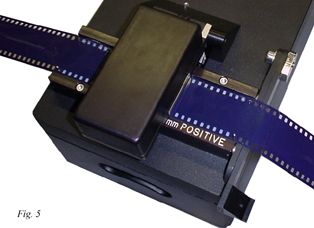
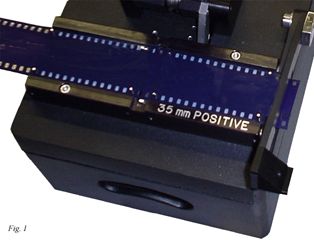 To prepare the left hand edge of the film splice. Advance film to the cutting edge, emulsion side down. Always use both sets of registration pins to line up film on the splicing bed. Trim or cut film at least the distance of one perforation. |
 Move the film over to the registration pins on the left hand side of the film splicing bed, emulsion side down. |
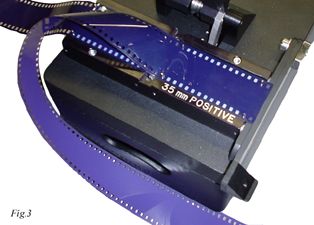 To prepare the right hand edge of the film splice. Half-twist the film before cutting, keeping the emulsion side down. Insert film onto the registration pins. Alway use both sets of registration pins to line up film on the splicing bed. Trim or cut film at least the distance of one perforation. |
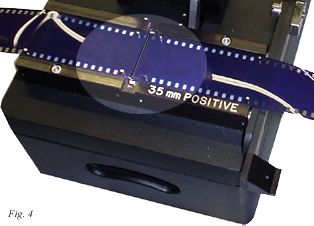 Untwist the film. Move film over to the registration pins on the right hand side of the film splicing bed, emulsion side down. Splice overlap is done automatically during the trimming process. Do not manually overlap the film. |
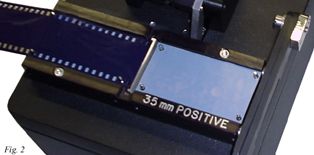
 Lower the splicing head until it latches. It will then take over, automatically splicing the film. When done, the splicing head pops up ready for the next splice. |
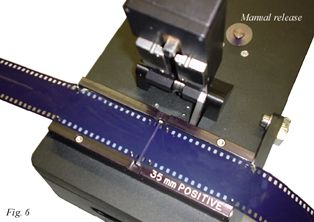 A manual splicing head release is located just behind the splicing head. |
Copyright © 1998-2009 Hollywood Film Company. All rights reserved.